Visible bead path
Mark the required path and viewing point on the part drawing. Identify features that will be hidden after the next assembly operation.

Plan in-line adhesive bead inspection before assembly hides the path, with part location, image triggers, recipe selection and reject handling.
Plan in-line inspection where the bead is still visible, before a mating part or later operation hides the required path. Define continuity, width, position and excess checks against the part drawing and representative samples.
Link the image and decision to the correct moving or presented part. Establish the available timing, recipe selection and response to rejected, missing or uncertain results during feasibility and integration.
Map dispensing, part presentation, inspection and the next assembly step. The proposed view needs to show the relevant bead while leaving enough time for the agreed hold or reject response.
Discuss your application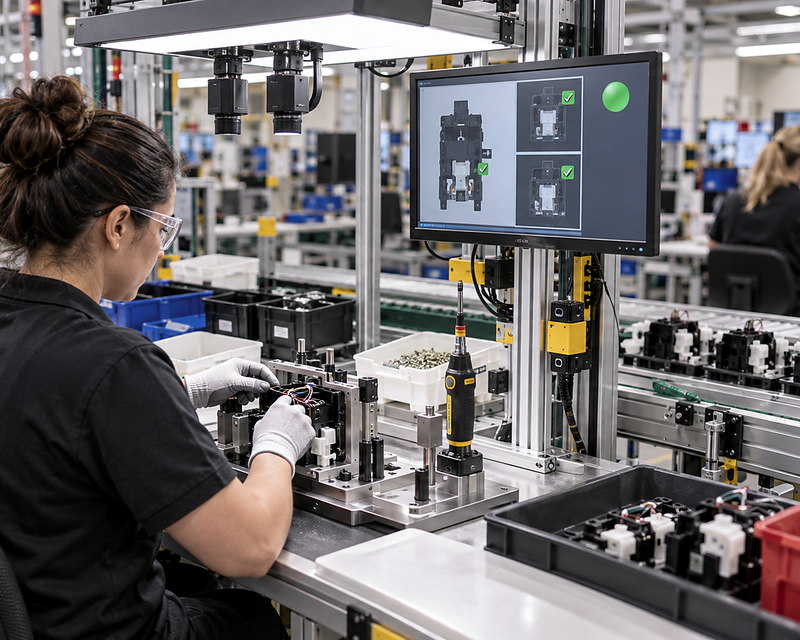

Mark the required path and viewing point on the part drawing. Identify features that will be hidden after the next assembly operation.
Provide good, clearly bad and marginal examples of the required continuity, width, position or excess decisions.
Describe how the part is located, when an image is triggered and the time available before the next operation.
Trial the actual bead and background with suitable view and lighting; record any conditions in which the required property is not visible.
Agree how the line selects the correct recipe and associates each result with the physical part and its handling response.
Test agreed failures, missing or uncertain results, variant changes and controlled recovery. Record the actual response and remaining actions.
Include replenishment, normal production, planned change, short stops, fault recovery, cleaning and maintenance for in-line inspection using adhesive bead path and continuity. A fast automatic step can still leave your team with a slow or awkward overall process.
Run the agreed product or part mix for in-line inspection using adhesive bead path and continuity at your intended operating pattern.
Include credible extremes for visible defect or measurement definition for adhesive bead path & continuity and good, bad and marginal sample range.
Show how the proposed solution detects a problem affecting in-line inspection using adhesive bead path and continuity, responds safely, informs your team and restarts under control.
Compare with Retrofit or Multi-Variant Checks Involving Adhesive Bead Path and Continuity if that operating pattern is closer to your application.