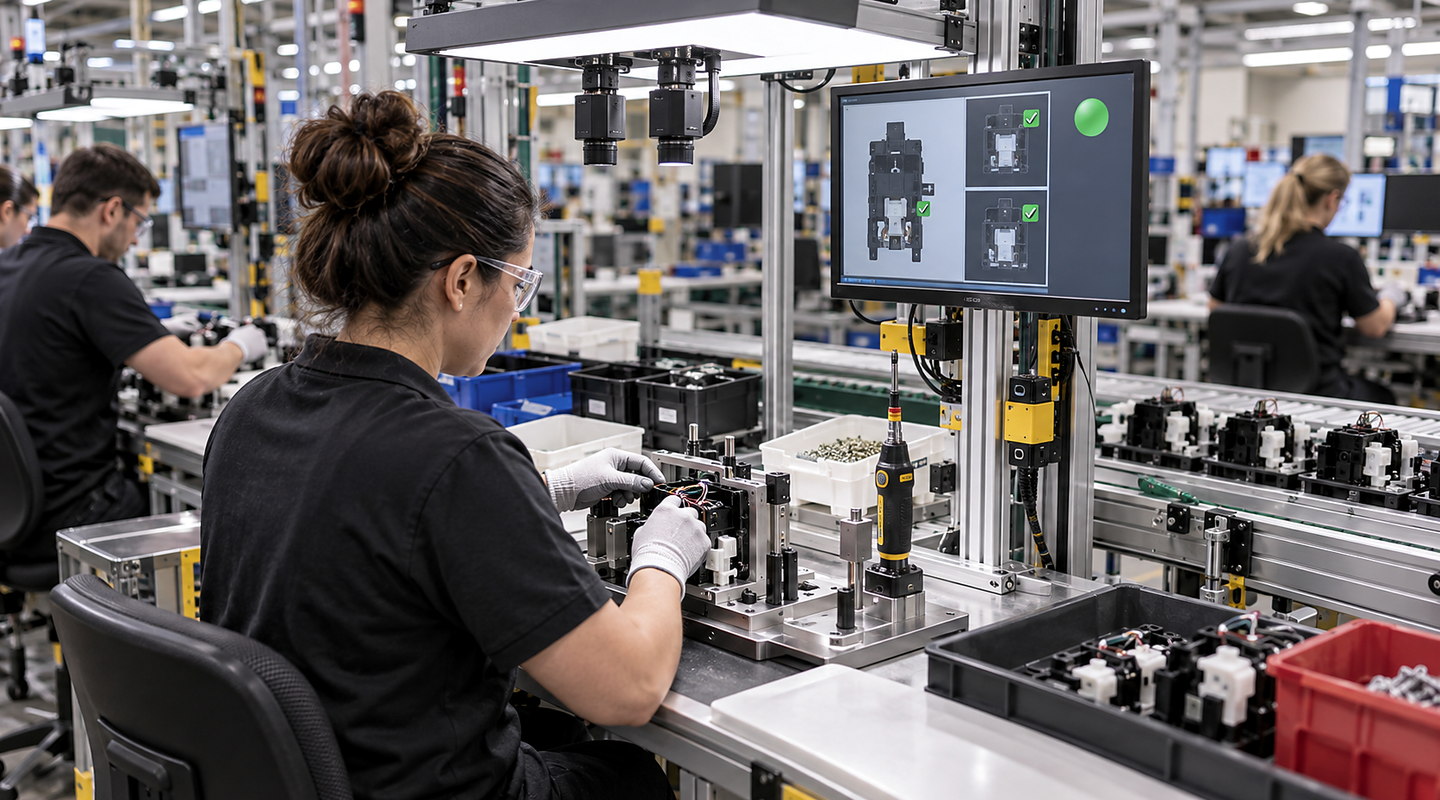
How adhesive bead inspection works on a production line
See how adhesive and glue bead inspection moves from visible defect definitions and sample trials to camera, recipe and reject-control integration.
Adhesive or glue bead inspection starts with a defined visible decision: continuity, width, path position or excess material. An optical trial then checks whether the required difference can be seen under realistic presentation, lighting and timing.
The production scope also needs to connect the image result to the correct part and recipe, then handle rejected, missing or uncertain results. A 2D image of bead width does not by itself establish height or deposited volume. Visual inspection does not establish bond strength, cure state or adhesion; keep the separate checks your product requires.
Follow the part from dispensing to the inspection decision
Identify the point where the bead is visible before a mating part hides it. Plan the view, trigger and part location around that point, then agree what the line should do with each inspection result.
Discuss your application
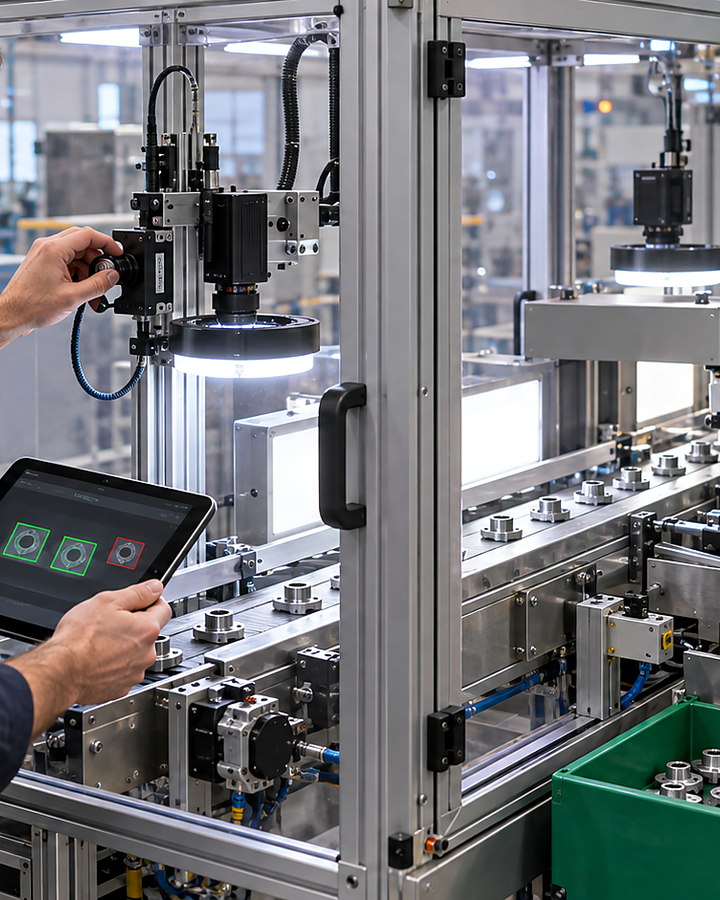
Four clear stages for adhesive bead inspection
At each stage, agree the evidence needed before committing to the next part of the project.
- 01
Define the bead decisions
Mark continuity, width, path position and excess checks on the drawing. Collect accepted, failed and marginal samples with expected judgements.
- 02
Trial visibility, lighting and timing
Use the real part and bead appearance to establish a suitable view and lighting. Check the relevant presentation and production timing; retain exceptions.
- 03
Connect the result to the line
Agree triggers, recipe selection, physical part association and the response to rejected, missing or uncertain results.
- 04
Challenge and record acceptance
Challenge the agreed defects, borderline samples, recipe changes and fault responses. Keep results, actions and operating information for handover.
Decisions and results stay connected
| Stage | What happens | What you can review |
|---|---|---|
| Define the bead decisions | Agree separate bead-path decisions and sample labels. | Current drawing, limits and expected sample judgements. |
| Trial visibility, lighting and timing | Check the proposed optics under relevant part and timing conditions. | Trial observations, unresolved visibility limits and the reason for the proposed route. |
| Connect the result to the line | Match image/recipe/results to parts and handling interfaces. | Layout, interface responsibilities and response to missing or uncertain results. |
| Challenge and record acceptance | Run the agreed inspection and line-response challenges. | Expected versus observed decisions, actual handling response, exceptions and handover actions. |
Keep connected responsibilities clear
Your final adhesive bead inspection scope must also account for recipe, reject and line-control interfaces, false-accept, false-reject and challenge criteria, current regulations and the conditions at your site.
- A camera can only assess a property made visible and repeatable by the inspection setup.
- Sample diversity and marginal cases determine how meaningful a feasibility result is.
- Visual inspection does not replace hidden, destructive, functional or statutory tests.